Work with steps
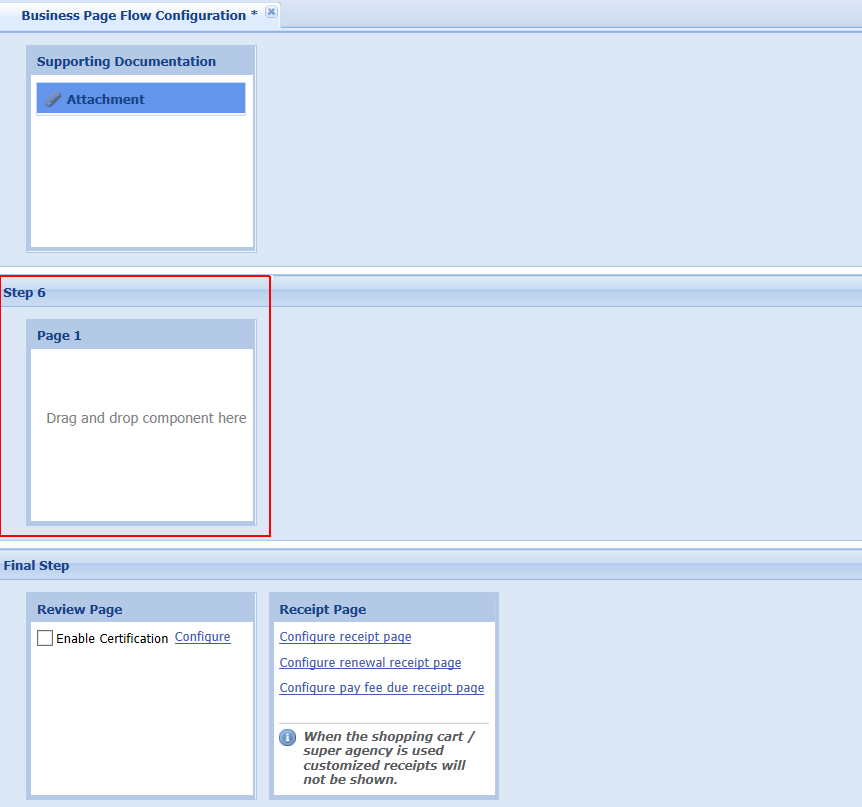
Steps are one of the most vital components of the page flow process for two primary reasons: they hold dynamic pages with SmartChoice component information and are the key items used to display breadcrumbs to the public user. Each step name and associated step number are displayed in the breadcrumbs, which is used to indicate where a user is in the page flow process. A page flow is configured to hold a maximum of 6 steps.
Select a page flow and customize by doing one of the following four options: Add, name, move, or delete a step. The last step in the page flow is the receipt page. You can access the various receipt pages from this step and customize them for the module. For more information, see Define the receipt page.
Add a step
Add steps to the page flow to customize the display of components during the application intake process.
To add a step to a page flow
-
Navigate to the page flow you want to customize.
-
Select the Add button and choose Add new step from the list.
-
Add components to the page as described in Work with pages in page flow. For more information about components, refer to Features requiring interface implementations.
Name a step
Change the name of a step at any time. This is useful when you want to customize the name of the page description in the breadcrumbs.
To name a step
-
Select the step by clicking the step name.
-
Verify the Property tab is selected in the Component settings panel.
-
Provide the new step name in the Step name value cell.

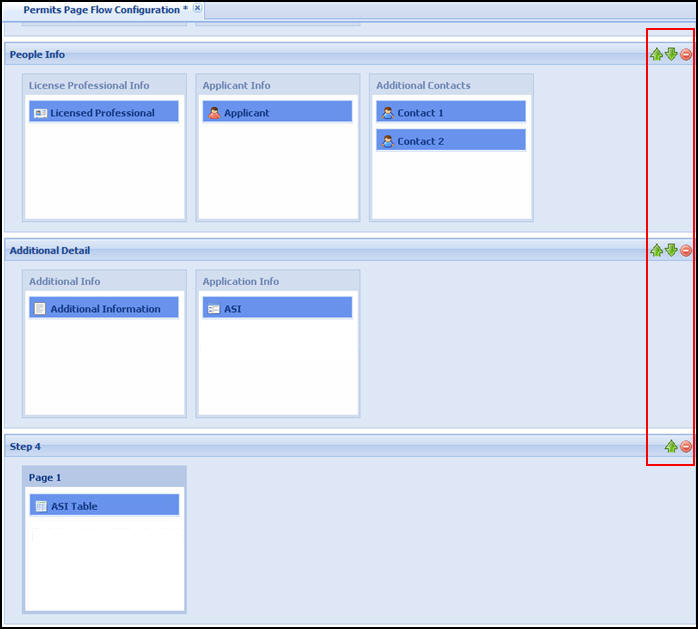
Move a step
You can move steps to customize the order of page and component display.
To move a step
-
Locate the green arrow(s) associated with the step that you want to move.
You may have to scroll the center workspace to the right for the arrows to come into view.
-
Select the green arrows to move the corresponding step up or down in step sequence in the page flow process.
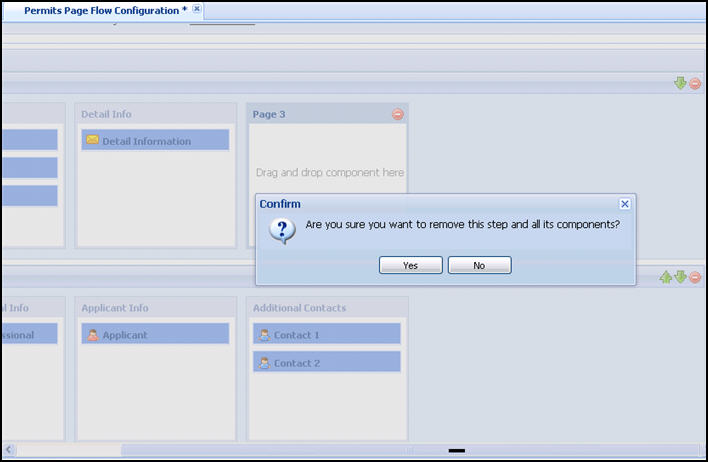
Delete a step
Delete a step at any time. This may be useful when you want to remove components from the page flow or include those components with a different step.
To delete a step
-
Locate the delete icon, the red circle, associated with the step.
Note: You might have to scroll the center workspace to the far right for it to come into view. -
Select the delete icon to remove the step from the page flow.
-
Select Yes to delete the step or No to cancel.
-
Select Save.