Create and edit documents groups
A document group lets you organize the different types of documents that users might need to add to certain applications.
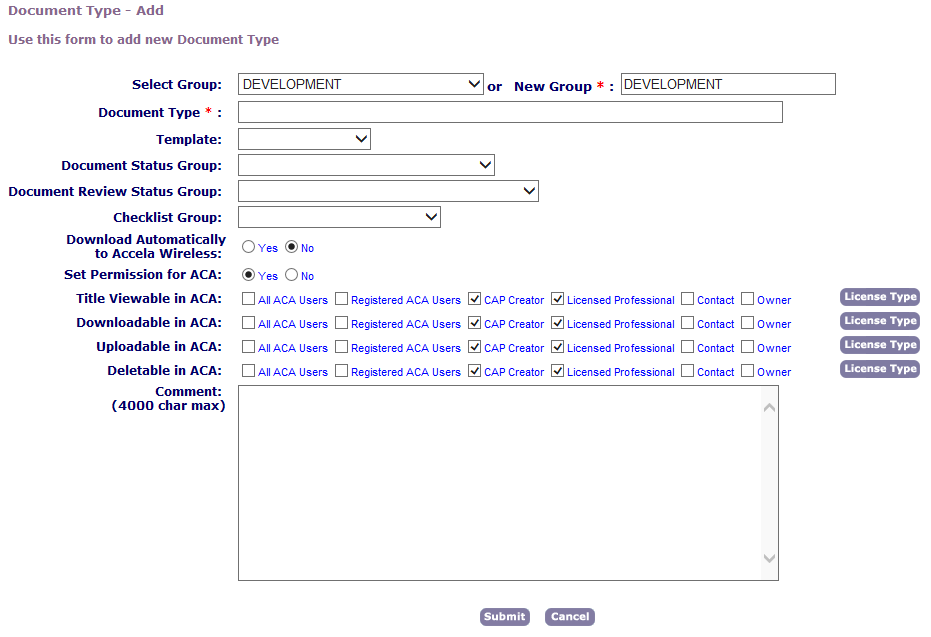
When you create a new document group, you determine the group name and add an initial document type to the group. You can add more document types to the group when you edit it.
To create a document group
-
From the Classic admin menu, select Attachments > Document.
-
Select Add.
-
Enter a name into the New group field.
-
Add Document types to the new document group. For specific instructions on how to add document types, see Add, edit, and delete document types.
-
Select Submit.
After you create a document group, you may need to edit it. When you edit a document group, you can change any of the document types that make up the group. After you create a document group, you cannot delete the group without first deleting all document types that make up the group. When you delete the last document type, Civic Platform automatically deletes the group.
To edit a document group
-
From the Classic admin menu, select Attachments > Document.
-
Enter the group name in the Select Group field.
-
Select the red dot next to the document group to edit.
-
From this page, you can create, edit, or delete document types.
-
To create a document type, select Add at the bottom of the page. For information on adding document types, see Add, edit, and delete document types.
-
To edit a document type, select the red dot to the left of the document type. For more information on editing options, see Add, edit, and delete document types.
-
To delete a document type, select Delete to the right of the document type.
-