Add or edit additional consoles
You can customize multiple consoles to fit the needs of different types of users and departments. This can include creating a custom console that limits what some users have access to, and creating a more advanced console with expanded access for other users.
Before you can configure a customized console, you must add a new console to Civic Platform.
To add a customized console
-
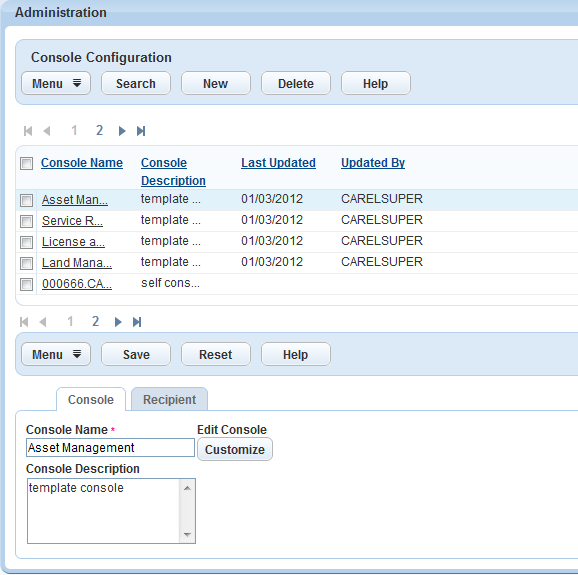
From the Administration menu, select Agency profile > Console configuration.
-
Select New.
-
Enter the console name and console description.
-
Select Submit.
You can create a standard console and assign it to a user group or module. The Console configuration page is where you organize the various console configurations. You can modify the name and customize the color of pages throughout Civic Platform. The color you choose for Civic Platform displays as the background color for the page selected. Blue is the default color scheme. Your other choices are: red, green, yellow, black, and taupe.
To edit a console configuration
-
From the Administration menu, select Agency profile > Console configuration.
-
Select a console name from the list to modify the Console name or Console description.
-
You can also change the layout and choose a skin for your console.
-
From the Console tab, select Customize.
-
Make any necessary changes.
-
Select Save and apply.
-
After creating a customized console, decide which agency, module, user group, and user has access to the customized console.
If you have access permissions to multiple consoles, Civic Platform provides a console name link (for example, My console) in the right corner of the Agency bar. You can select a console name link to open a drop-down menu of all available consoles and then select a console name to switch between consoles.