Customize content of agency communications
Civic Platform generates receipts or endorsements after you process a payment. Civic Platform has default settings for all receipts and endorsements, with the exception of TRUSTACCOUNT_RECEIPT_SUMMARY. You can use the Content customize feature to create your own design for receipts and endorsements. The customized design overrides the default settings with its own look and level of specificity.
Add or update customized content
You can customize the content for several content types which includes:
-
Email and SMS text message notifications, meeting and calendar requests, and Citizen Access email announcements. (To customize these types of communication, see Create, edit, and delete communication notification templates.)
-
Receipts and endorsements. (To customize receipts and endorsements, use the Content customize page as described below.)
Civic Platform can only apply one design for a content type. After you create your own design for a content type, you can either update based on the existing design, or clear the design to return to Civic Platform's original design.
To add or update a customized content
-
From the Administration menu, select Agency profile > Content customize.
-
Select a content type from the Type menu.
-
Enter a Brief description if necessary.
-
Create or update the content in the Content editor field.
 Create or update text in the content editor field
With the text toolbar in the editor, you can customize fonts and the way to organize your text.
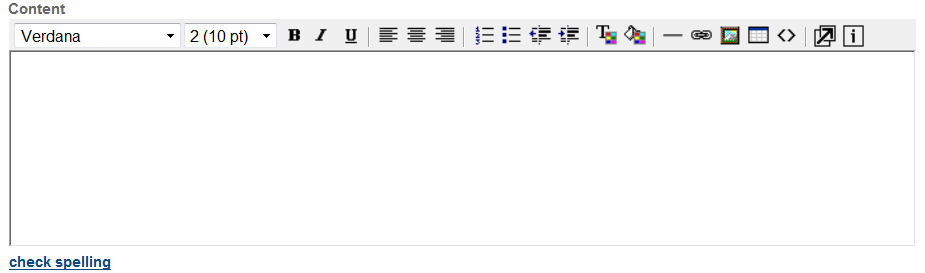
To edit text in the editor
-
Position your cursor where you want in the editor, and then enter the text which you want to add.
-
Highlight the text which you want to edit, and then use the text toolbar to edit text properties such as font type, font size, font color, and text alignment.
-
You can add variables to include dynamic content in the receipts or endorsement.
For the variables that you can include in the receipt and endorsement content type, see Variables for customized content.
-
You can add a table in the text area, and organize the payment information in a tabular way.
-
Select the Insert table button in the toolbar.
-
Enter the number of rows and columns in the text boxes, and configure the layout and spacing settings.
-
Select OK.
Civic Platform adds the table at where the cursor was.
-
Enter the information you want to include in the table, and add variables in the table cells, as appropriate.
-
Continue editing the remaining content.
-
-
-
For edits to the text alignment of invoices, please note that:
-
All fee item variable descriptions use left alignment, except “Total Invoice Amount,” “Total Payment,” and “Balance.”
-
Descriptions of the other variables (including date, operator ID, permit ID, and so forth) use left alignment.
-
All fee amounts use right alignment.
Note: If you add a content type (such as, RECEIPT_SUMMARY, SET_CHECK_ENDORSEMENT, SET_RECEIPT_SUMMARY, TRANSACTION_CHECK_ENDORSEMENT, TRANSACTION_RECEIPT_SUMMARY, TRUSTACCOUNT_CHECK_ENDORSEMENT, and TRUSTACCOUNT_RECEIPT_SUMMARY) as a standard choice value in the standard choice APPLY_ SYSTEM_ DEFAULT_ FORMAT, Civic Platform follows its own default alignment style, instead of the alignment customized here, to generate the corresponding receipts or endorsements.
The standard choice APPLY_ SYSTEM_ DEFAULT_ FORMAT only affects the alignment style of the receipts but not the content.
-
-
-
Select Save.