Customize the account management page for authorized agents
The Account manage page is the first page that an authorized agent sees after logging in to the Citizen Access.
You can customize the content of the web pages for account management by authorized agents.
Authorized agents can perform the following tasks in Account manage:
-
Select the Locate customer link on the top of the page to start the landing page of authorized service sales.
-
Manage accounts
-
Manage authorized agent clerks
To customize the account management pages for authorized agents and clerks
-
Log in to Civic Platform.
-
From the User account menu, select Administration.
-
From the Administration menu, select Administration > ACA Admin.
-
Go to Global settings > Pages.
-
Select and customize the following pages in the Account management folder:
-
Select Save.
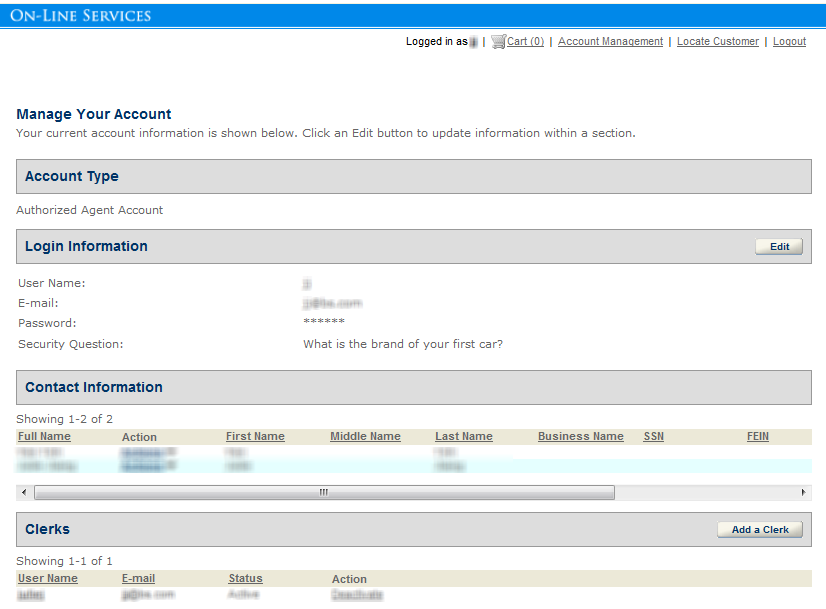
Account
This page contains two sections, the Account type section, and the Clerks section.
-
The Account type section displays the account type of the login user.

-
The Clerks section displays for the account management page of authorized agents only. This section provides the Add a clerk button for adding clerk accounts, and the Action column, with the Activate or Deactivate link, for the agent to activate or deactivate a clerk account.

New clerk registration
This page displays after an authorized agent selects the Add a clerk button in the Account management page. There are two main sections, the Login information section and the Contact information section.

-
The Login information section requires authorized agents to enter the basic login information about the new clerk.
-
The Contact information section provides the summary contact information of the clerk if the authorized agent already entered the information. Otherwise, the agent can select Add new to add the contact information.
New clerk registered
This page is read-only and provides a summary of the clerk account information that the authorized agent just entered.
Clerk information
After an authorized agent selects the link in the User name column in the Clerks section of the Account management page, this page displays and allows authorized agents to edit an existing clerk account.
Like the New clerk registration page, the Clerk information page contains two main sections:
-
Login information section
-
Contact information section
The sections display existing information about the selected clerk. Authorized agents can make changes to the information and then save.
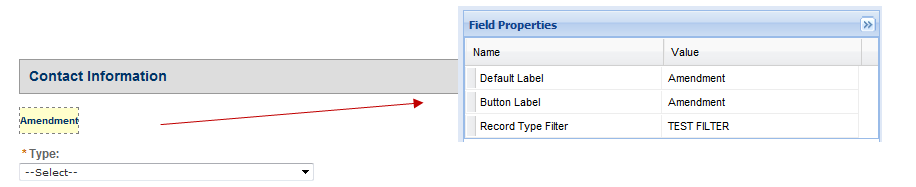
The Contact information section contains current contact information, in which some fields may be read-only to authorized agents, but are still subject to change. You can enable the Amendment button in the section by associating a record type filter with the button. If authorized agents select the Amendment button, they can choose an amendment record type to apply for amending the contact.
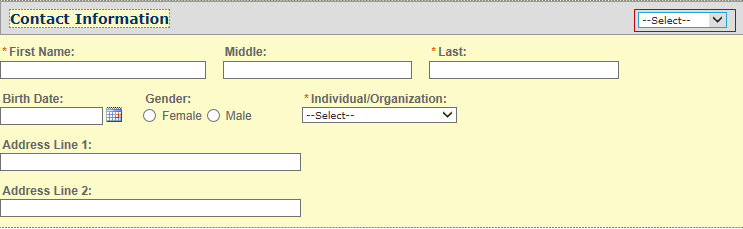
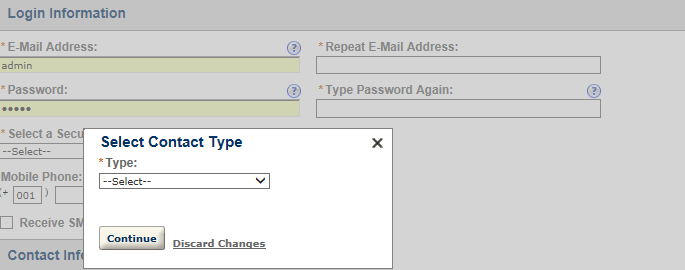
Select contact type
When authorized agents selects Add new to add contact information about a clerk, the Select contact type displays. Use it to select the contact type before entering the contact details.
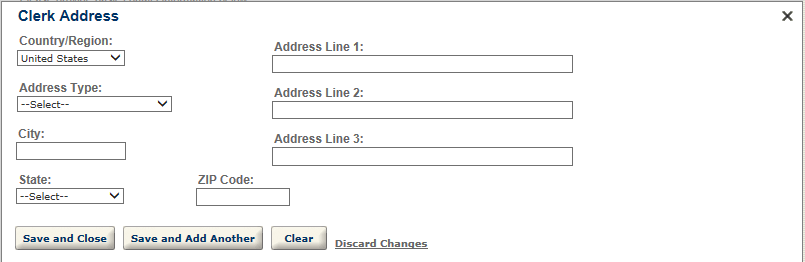
Clerk address info
The Clerk address info screen displays when authorized agents select Add additional contact address, or when they edit a contact address.
New clerk info
After authorized agents select a contact type for a new clerk in the Select contact type screen, the New clerk info page displays. Use it to add the clerk contact information.

Be aware that there are two possible outcomes when authorized agents select the Save and close button in the New clerk info screen:
-
If there are close matching reference contacts for the entered clerk, the New clerk info window changes to read-only mode, and displays the details of the first contact that meets the close matching criteria of the highest priority. The window also displays a check box with the message “I confirm the displayed contact as that of my clerk.” If authorized agents mark the check box and select the Confirm button, Citizen Access saves the close-matching contact as the clerk, and returns to the Clerk management screen.
-
If there is no close match, a new reference contact is created based on the entered contact information. Citizen Access saves the entered contact, and returns to the Clerk management screen.
When you configure the New clerk info page, remember to select the target contact type first if you want to customize the field settings. The customized settings only apply to the selected contact type. If you define the field settings without selecting any contact type, the Contact info screen displays the default field settings.

Edit clerk info
If the summary of a contact already displays in the Contact information section of the Clerk information or New clerk registration screen, authorized agents can select the Edit link to edit the contact information. The Edit clerk info screen displays.
You can require authorized agents to add more details in this window in addition to what they already provided on the New clerk info screen.

When you configure the Edit clerk info page, remember to select the target contact type first if you want to customize the field settings. The customized settings only apply to the selected contact type. If you define the field settings without selecting any contact type, the Contact info screen displays the default field settings.